
一、Zabbix 4.0 源码编译安装
PS:其实相对Zabbix来说,直接按照官网yum安装还是比较方便的;
官网yum安装中文文档:
https://www.zabbix.com/documentation/4.0/zh/manual/installation/install_from_packages/rhel_centos
官网源码安装中文文档:
https://www.zabbix.com/documentation/4.0/zh/manual/installation/install
zabbix 各版本下载地址:
https://sourceforge.net/p/zabbix/activity/?page=0&limit=100#5cb76912f0d3475bbf780be2
使用源码具体安装步骤:
1、安装一系列基本的组件
首先,先修改设备时区:
[root@Server ~]# cp -a /usr/share/zoneinfo/Asia/Shanghai /etc/localtime
cp: overwrite ‘/etc/localtime’? y
[root@Server ~]# date
Sun Oct 25 22:00:42 CST 2020
[root@Server ~]#
[root@Server ~]# yum install -y gcc gcc-c++ httpd mariadb mariadb-server php php-devel php-mysql pcre-devel openssl-devel zlib-devel curl-devel php-bcmath php-mbstring php-gd php-xml mysql-devel lrzsz2、rz上传zabbix-4.4.8、tar解压、创建zabbix的用户、预编译、安装。
[root@Server ~]# rz
[root@Server ~]# ls
anaconda-ks.cfg zabbix-4.4.8.tar.gz
[root@Server ~]# tar xf zabbix-4.4.8.tar.gz
[root@Server ~]# useradd zabbix
[root@Server ~]# cd zabbix-4.4.8
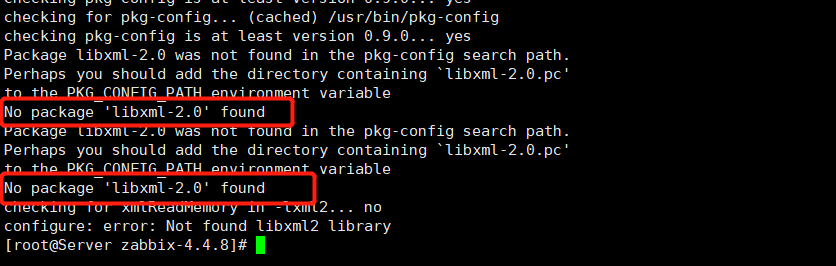
[root@Server zabbix-4.4.8]# ./configure --prefix=/usr/local/zabbix --enable-server --enable-agent --with-mysql --with-libcurl --with-net-snmp --with-libxml2预编译之后报错:解决方式:缺什么装什么
重新进行预编译:
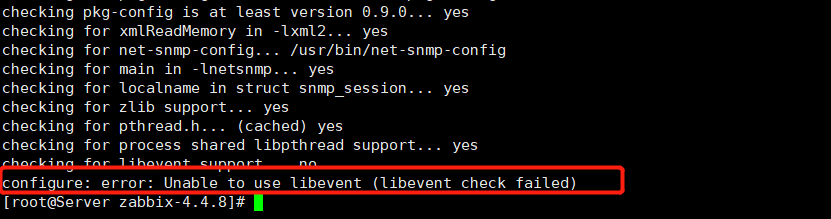
[root@Server zabbix-4.4.8]# ./configure --prefix=/usr/local/zabbix --enable-server --enable-agent --with-mysql --with-libcurl --with-net-snmp --with-libxml2还是存在问题:
再次进行预编译:
[root@Server zabbix-4.4.8]# ./configure --prefix=/usr/local/zabbix --enable-server --enable-agent --with-mysql --with-libcurl --with-net-snmp --with-libxml2此次正常预编译了,Zabbix源码安装不需要make的过程,直接make install 安装:
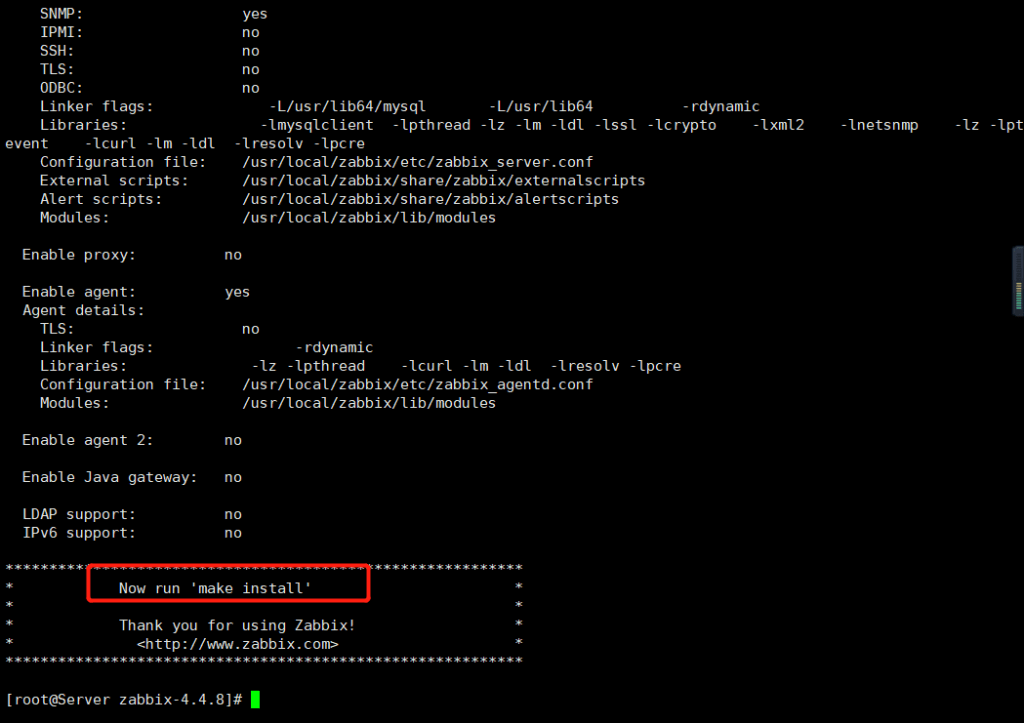
[root@Server zabbix-4.4.8]# make install3、调整Zabbix文件

frontends 前端的图形,按钮,PHP文件都在这个目录下
database 要用那种数据库,数据库架构是什么样的,都在这个目录下
misc 启动项、启动脚本都在这个目录下
将Zabbix的PHP文件都复制到Apache目录下
[root@Server zabbix-4.4.8]# cp -a frontends/php/* /var/www/html/将zabbix_agentd 和 zabbix_server 放到init.d下并授权:
[root@Server zabbix-4.4.8]# cp misc/init.d/tru64/zabbix_* /etc/init.d/
[root@Server zabbix-4.4.8]# chmod +x /etc/init.d/zabbix_*
4、启动Zabbix
此时可以做一个软连接:
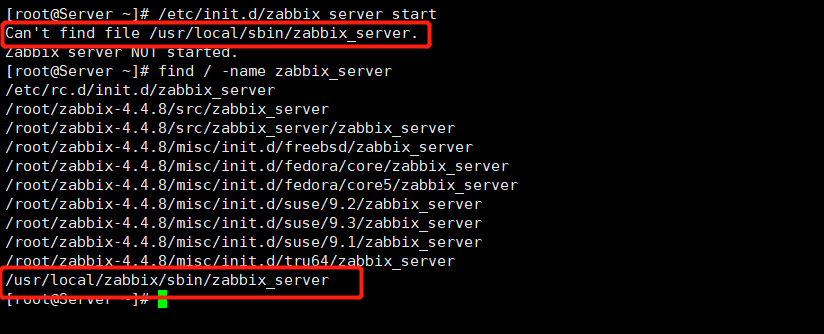
[root@Server ~]# ln -s /usr/local/zabbix/sbin/zabbix_* /usr/local/sbin/再次启动Zabbix,发现还是没有启动:
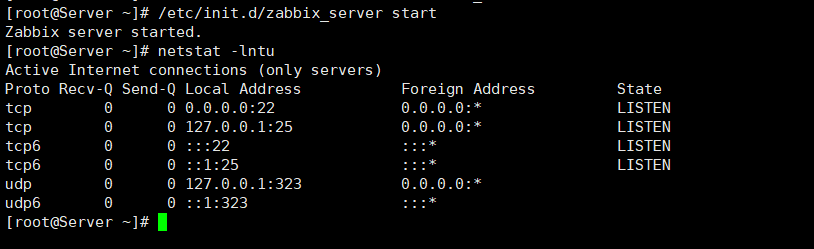
在配置文件中使用LogFile=/tmp/zabbix_server.log指定了zabbix_server的日志所在的文件
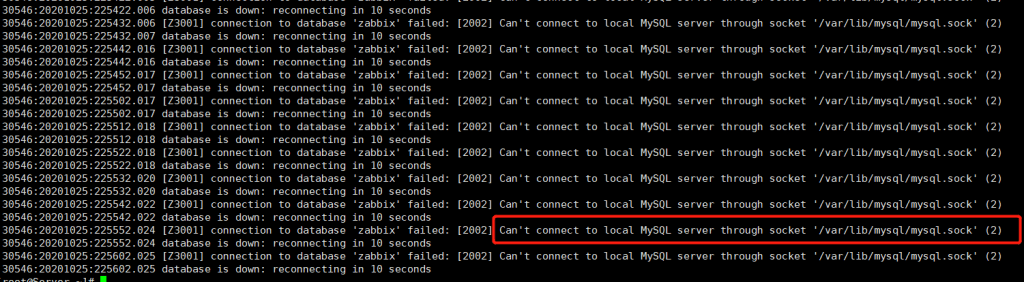
查看/tmp/zabbix_server.log: 发现是没办法连接到数据库,如下
5、启动mariadb 并配置
PS:在zabbix 4.4 版本中zabbix数据库创建的时候,必须要设置字符集为utf8,和对字符集进行检验;mysql默认的字符集是拉丁;如下
[root@Server ~]# systemctl start mariadb
[root@Server ~]# mysql
Welcome to the MariaDB monitor.  Commands end with ; or \g.
Your MariaDB connection id is 2
Server version: 5.5.65-MariaDB MariaDB Server

Copyright (c) 2000, 2018, Oracle, MariaDB Corporation Ab and others.

Type 'help;' or '\h' for help. Type '\c' to clear the current input statement.

MariaDB [(none)]> create database zabbix character set utf8 collate utf8_bin;
Query OK, 1 row affected (0.00 sec)

MariaDB [(none)]> grant all on zabbix.* to 'zhanggeng'@'localhost' identified by 'zhanggeng';
Query OK, 0 rows affected (0.00 sec)

MariaDB [(none)]>
6、调整Zabbix_server配置文件
[root@Server ~]# vi /usr/local/zabbix/etc/zabbix_server.conf
DBUser=zabbix
修改为:
DBUser=zhanggeng #跟这数据库设置改变
添加:(默认是没有的)
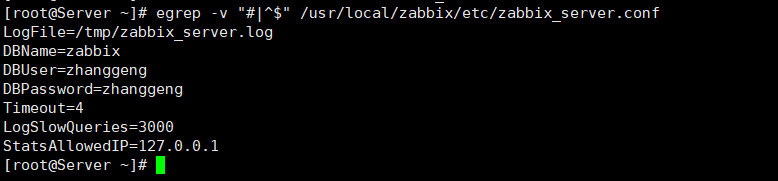
DBPassword=zhanggeng查看修改之后的配置文件:DBName、DBUser、DBPassword 一定要写出来
7、将Zabbix源码包中/database/mysql/目录下的以.sql结尾的数据文件导入到mysql中的zabbix库中
[root@Server ~]# cd zabbix-4.4.8/database/mysql/
[root@Server mysql]# ls
data.sql images.sql Makefile Makefile.am Makefile.in schema.sql
[root@Server mysql]# mysql -uzhanggeng -pzhanggeng zabbix < schema.sql
[root@Server mysql]# mysql -uzhanggeng -pzhanggeng zabbix < images.sql
[root@Server mysql]# mysql -uzhanggeng -pzhanggeng zabbix < data.sql
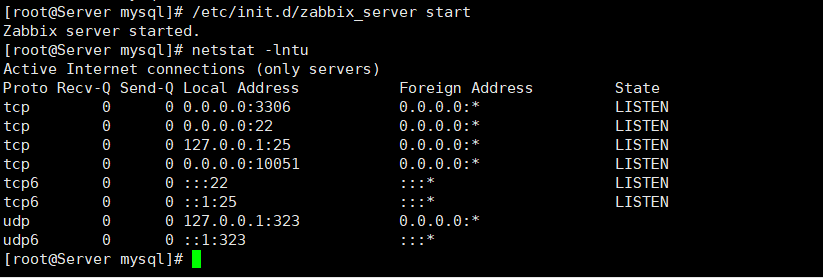
[root@Server mysql]# 8、再次尝试启动Zabbix
如下,成功启动
优化Apache的FQDN,并且启动Apache:
[root@Server mysql]# systemctl start httpd
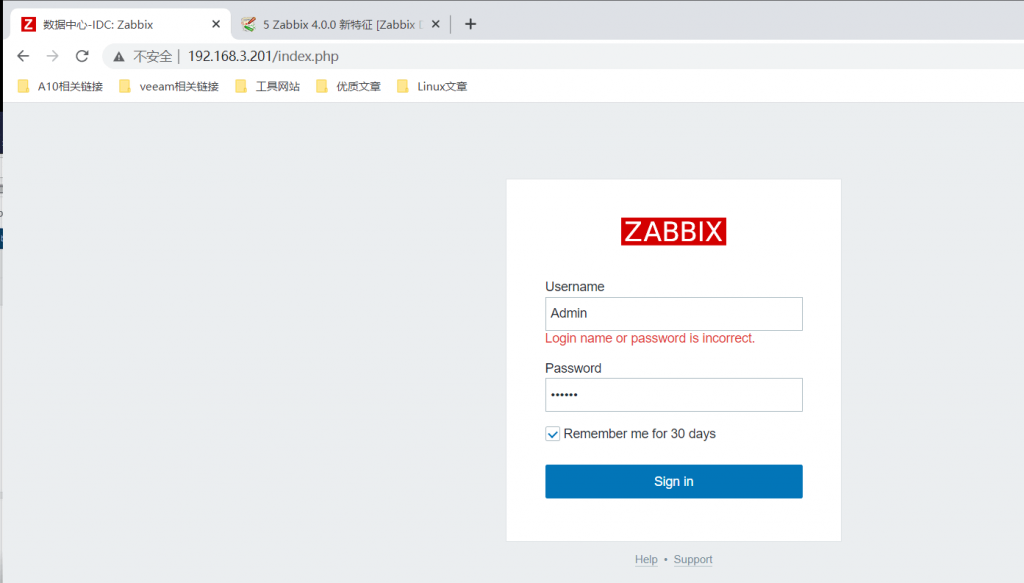
成功登录Zabbix,如下:
Zabbix 4.0版本新特征中文官方链接:
https://www.zabbix.com/documentation/4.0/zh/manual/introduction/whatsnew400
9、安装zabbix
如下,在安装zabbix的时候,有一些需求是Fail的;
解决方式:调整PHP配置文件中的参数
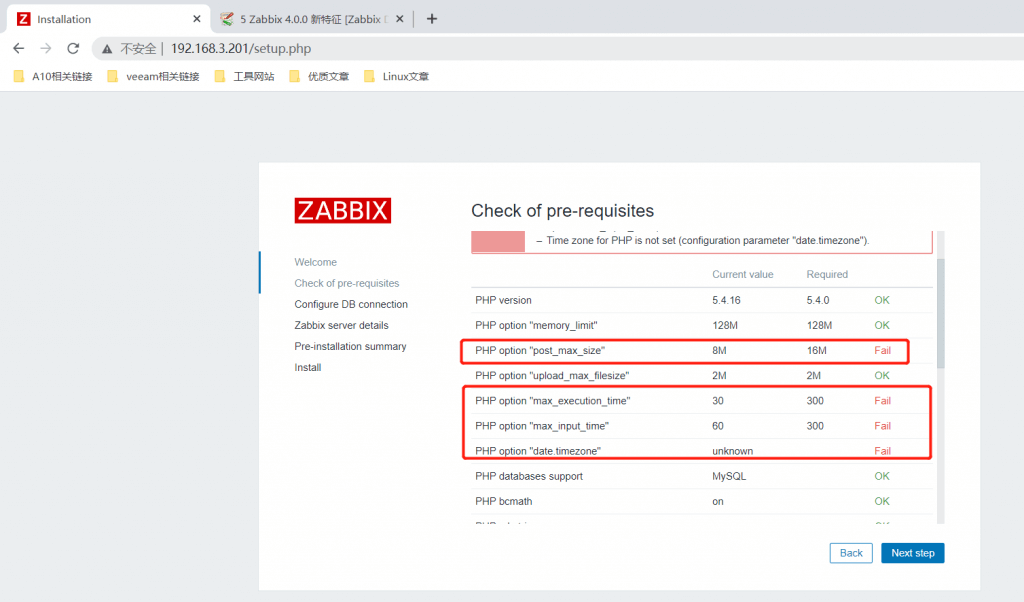
调整PHP配置文件,如下:
[root@Server ~]# vi /etc/php.ini

post_max_size = 8M
修改为
post_max_size = 16M

max_execution_time = 30
修改为
max_execution_time = 300

max_input_time = 60
修改为
max_input_time = 600

;date.timezone =
修改为
date.timezone = Asia/Shanghai
还有一个warning;
解决方式:yum install -y php-ldap
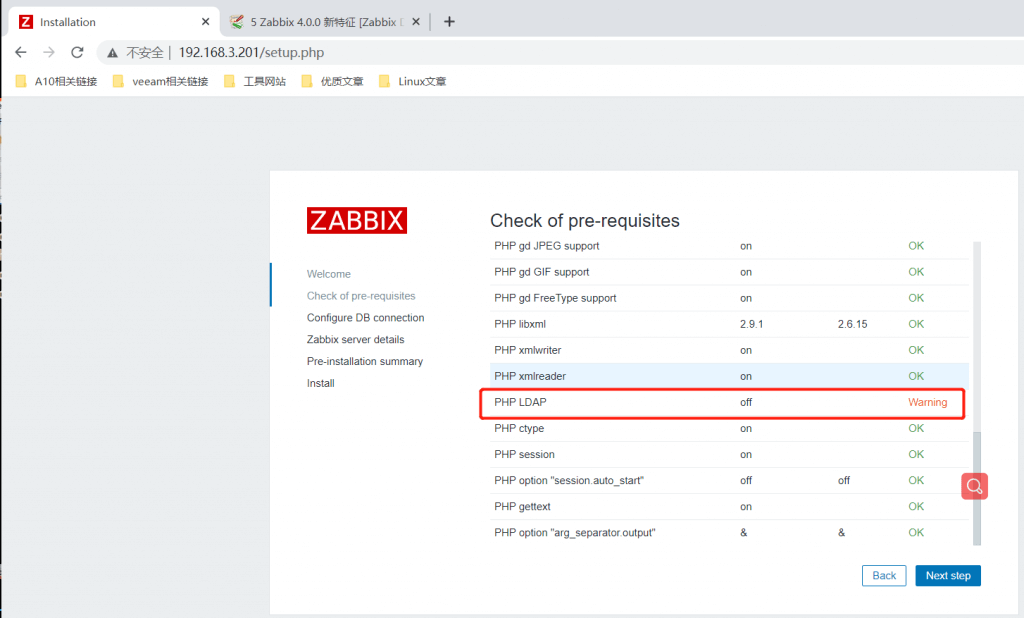
修改完成之后,重启以下Apache:
[root@Server ~]# systemctl restart httpd
此时安装条件都是“OK”的:继续下一步

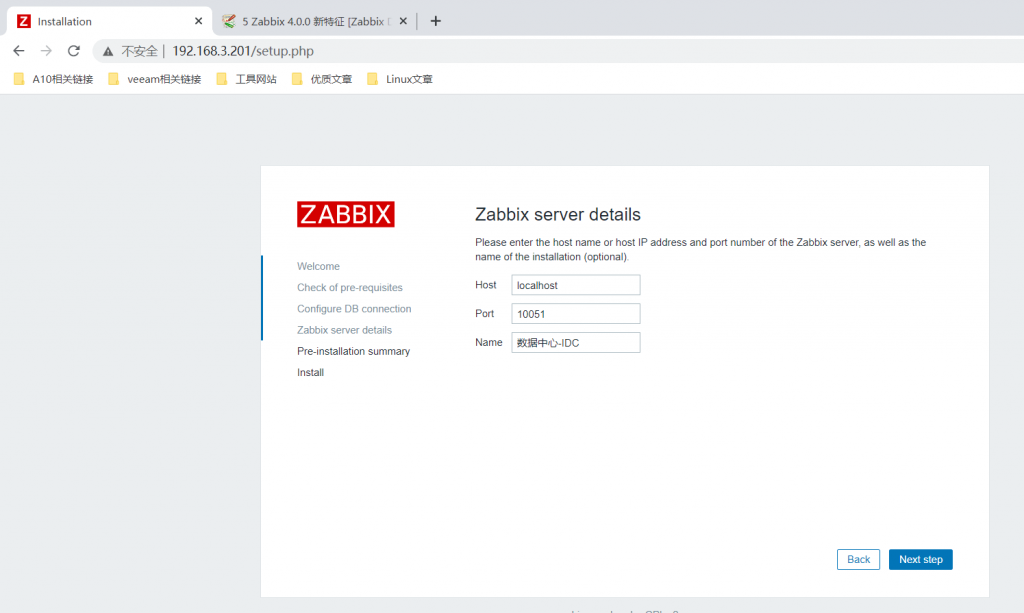
填写用户名、密码:

Name自己随意定义:
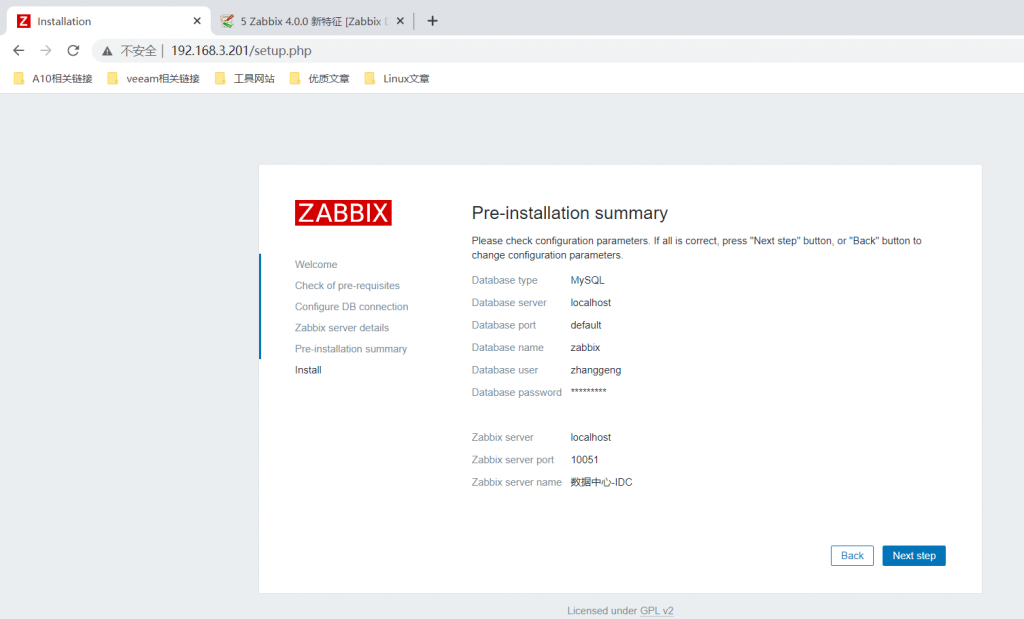
summary信息显示,直接下一步即可:
出现如下问题,Zabbix已经给出了解决方式:
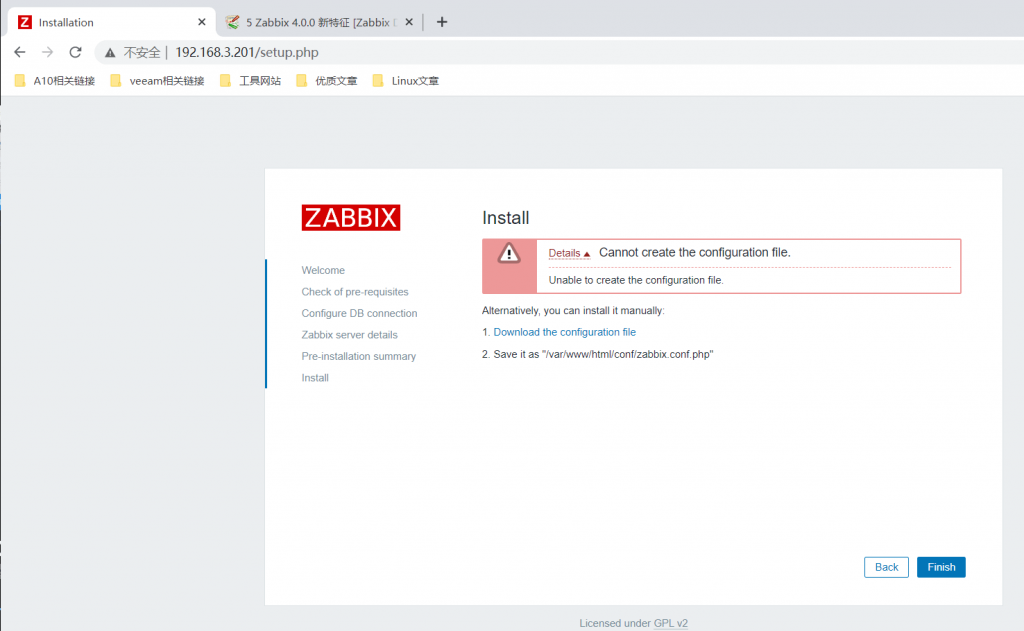
2、将文件保存到 /var/www/html/conf/zabbix.conf.php
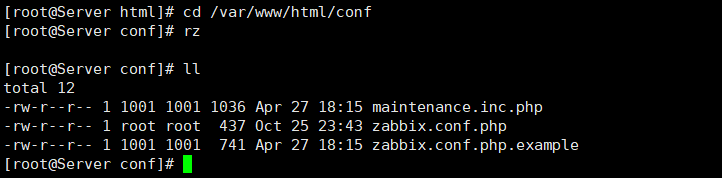
上传完成之后,点击finish完成:
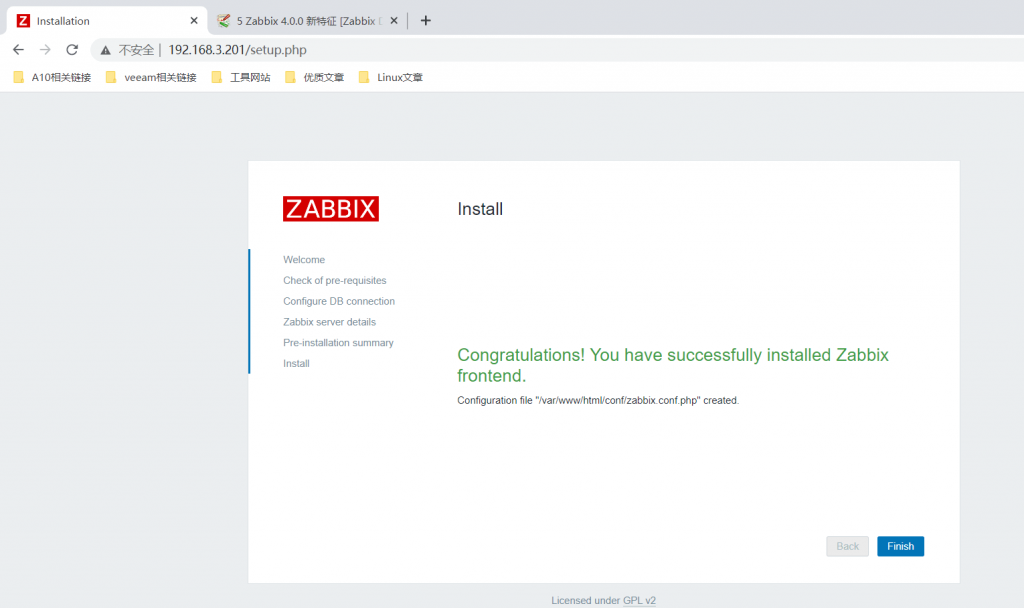
初始化 账号:Admin 密码:zabbix
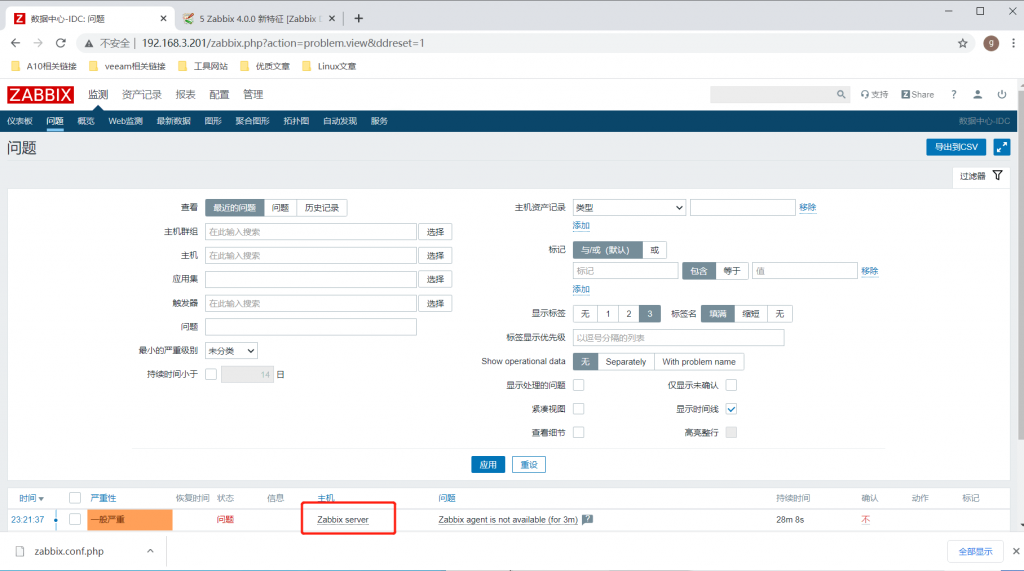
此时,有主机Zabbix agent 不可达,这个主机是自己本地127.0.0.1;
解决方式:启动zabbix_agent

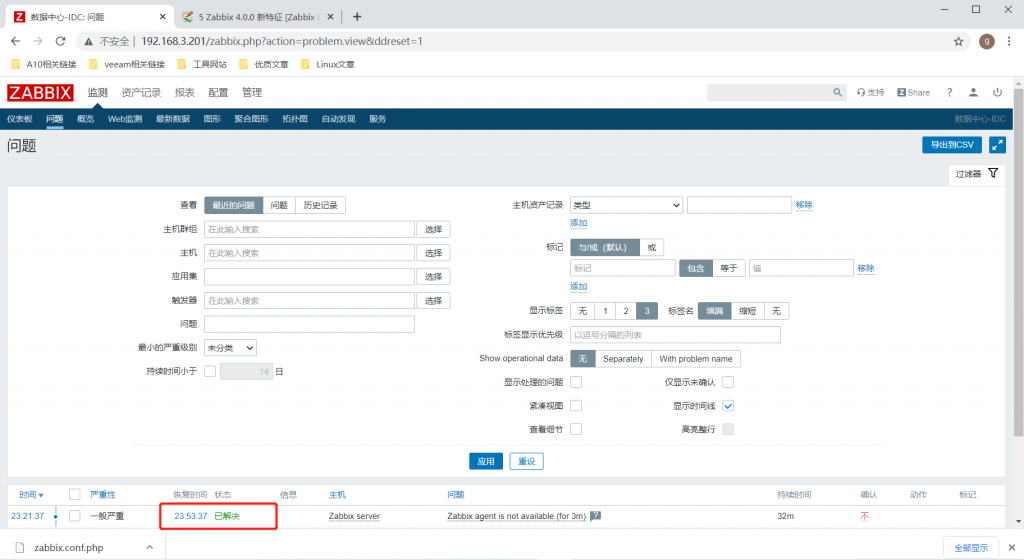
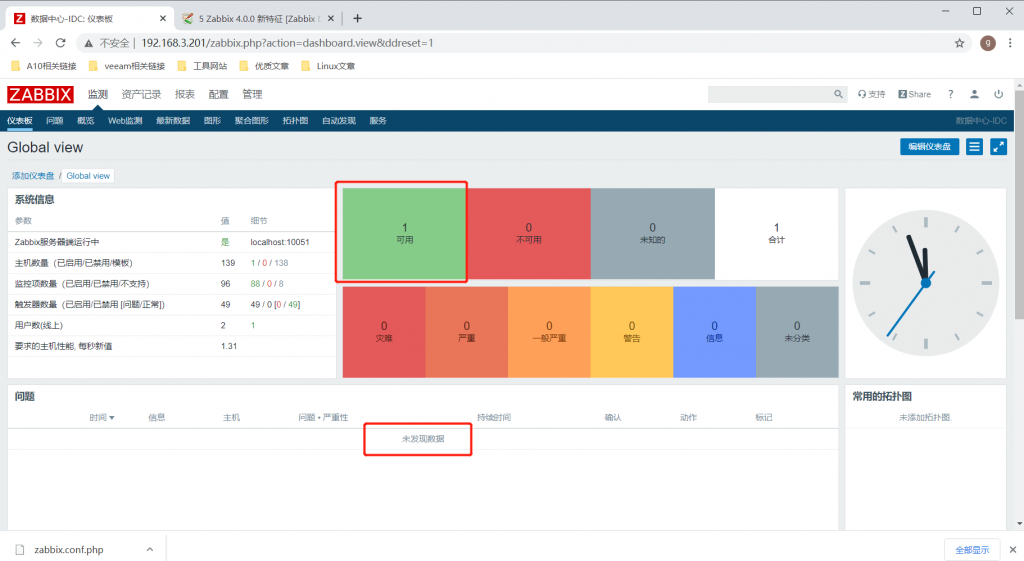
此时显示问题已经解决,并且仪表盘有一个可用,并且问题中是空,如下图:
仪表盘中显示的参数,可以自己了解分析;
至此Zabbix源码安装就完成了,打上快照,方便后续的调优学习,快照名称:Zabbix源码部署完成